First try

massNtrash

Active Member
Messages
244
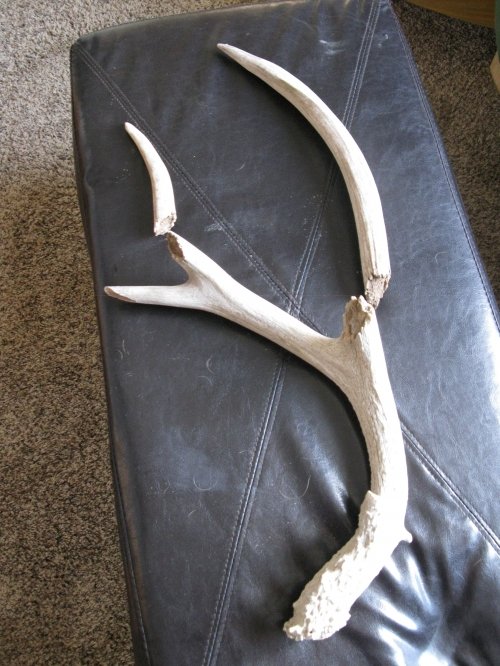
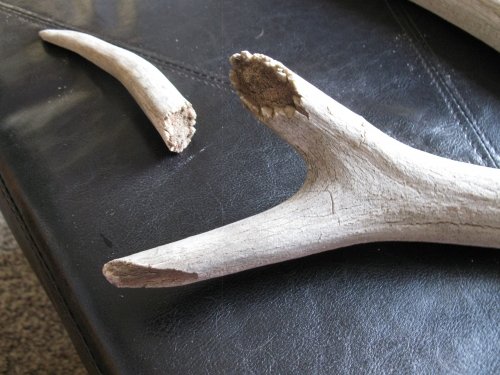
LAST EDITED ON Mar-30-10 AT 03:47PM (MST)[p]Here is a shed that i recently refinished let me know what you guys think.This was my first time trying to repair an antler that was this damaged. When i picked it up it was about 5-7 years old and had both the g2 and g4 broken off. The g2 and g4 were laying next to the shed like something had come along and stepped on it.

Here is the shed before i did anything to it.
8804img_2286.jpg


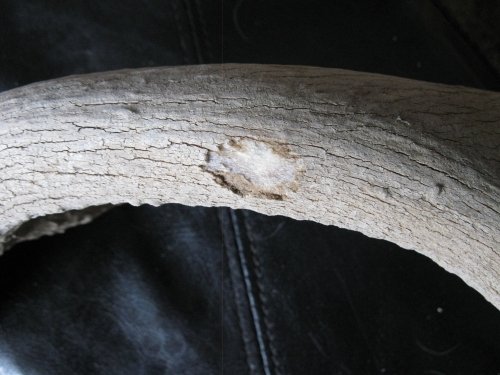
Here is a close up of the underside of the main beam where there was a hole in it
3512img_2292.jpg


Here is a close up of the back break
956img_2290.jpg


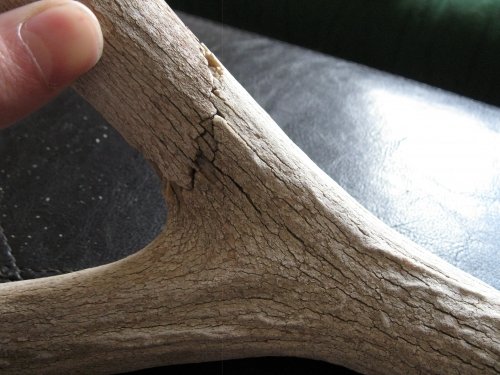
Here is the close up of the front fork and break
4609img_2288.jpg


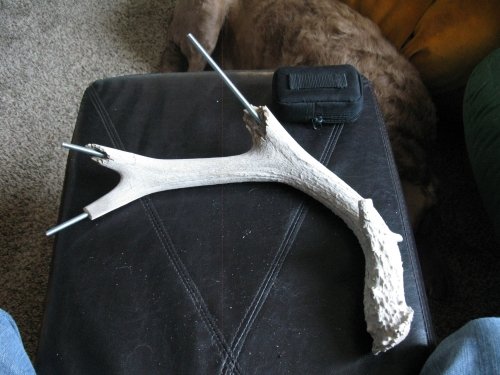
Here it is after i tapped in the all threads
7595img_2304.jpg


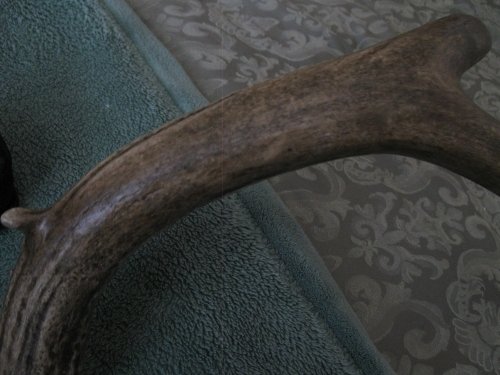
Here is the pic of the back break when i finished
4034img_2318.jpg


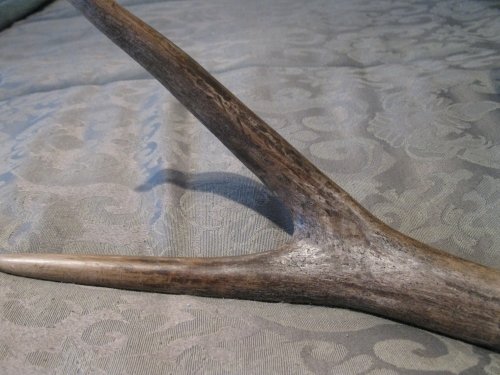
Here is the pic of the front fork once i finished
8766img_2319.jpg


Here is a pic of the hole in the main beam
6871img_2320.jpg


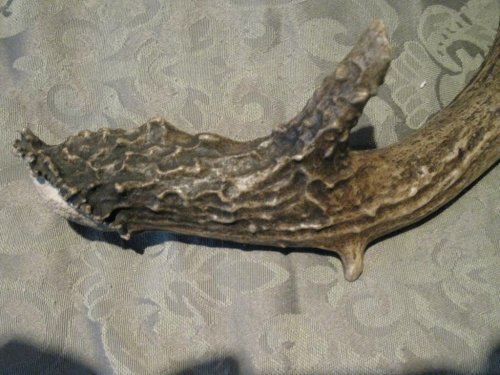
Here is the pic of the base once i finished
5793img_2325.jpg


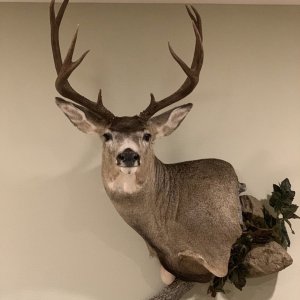
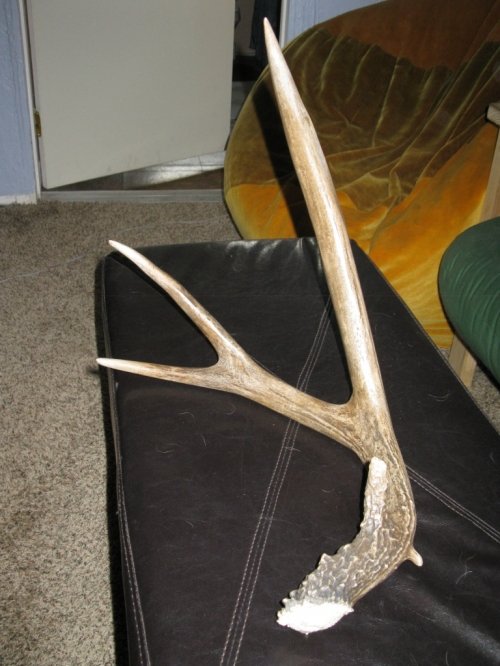
Here is the finished product
1261img_2327.jpg
 
looks good to me, the coloring looks natural and repair work looks great. did you use a certain product for the color or did you come up with your own?
 
Wow! Looks great! The color looks awesome! How did you recolor it? What did you use, did you sand it down, etc. I've got a few that I'd love to repair and recolor but I don't want to ruin them in the "error" part of trial and error.
 
Wow... i am impressed. hopefully its not beginners luck at making it look that good. LOL keep it up! they look great!

"The road to success is always under construction"
 
huntinfanatic- i used a product called brush on wipe off antler paint that i got from van dykes.

bonepicker- i used a combination of things to get the antler to not be cracked up anymore. first i sanded the whole thing down with 100 grit to get all of the rotten peices off. then i used a dremel to do the same thing down around the base where i couldn't get to with the sand paper. then i worked minwax wood putty into all of the cracks with my hands. then i just re sanded it down and painted it. if you use this method be sure to paint it not stain it because the wood putty will stain a different color.
 
Hey massntrash your horn has inspired me to try this. What tip did you use for the dremil and how far down did you sand it my horn if i sand down to far it starts to not have a nice smooth surface? any tips or in for would be very appreciated i want to use that van dykes paint. im doing this on a 175-180 class buck
 
Sounds great! the biggest tip that i can give you is just take you time. if you do end up sanding it down to far you can always fix it by filling it in with wood filler. i sanded it down just till it was smooth. I used a small sanding drum for most of it but down where it was rougher around the base i used a small round grinding tip. If you have anymore questions pm me and i'll give you all the info i can.
 
Very nice work. Looks good.


"I have found if you go the extra mile it's Never crowded".
 
I didn't use a glue i used the same wood putty because it has the consistancy of bondo and it sets up real hard so i just put a bunch of that inside the horn then pushed them together.
 

Click-a-Pic ... Details & Bigger Photos
Back
Top Bottom