I had initially put this in the general forum a couple of weeks ago so some of you may have seen the first few pictures. It has been one heck of s project well worth the effort.
I have never done anything like this and there are a few things I would do differently but over all I am very pleased and very surprised with how this turned out.
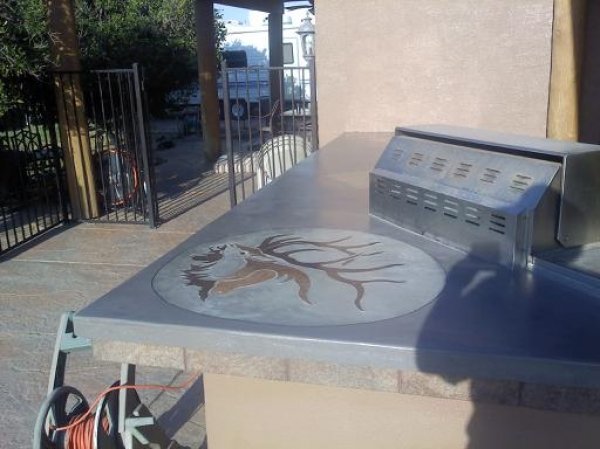
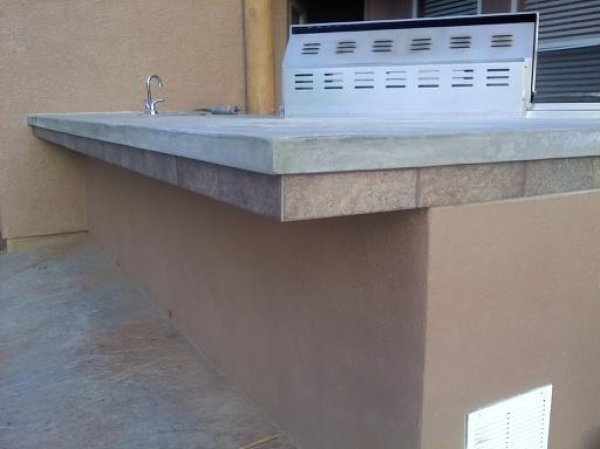
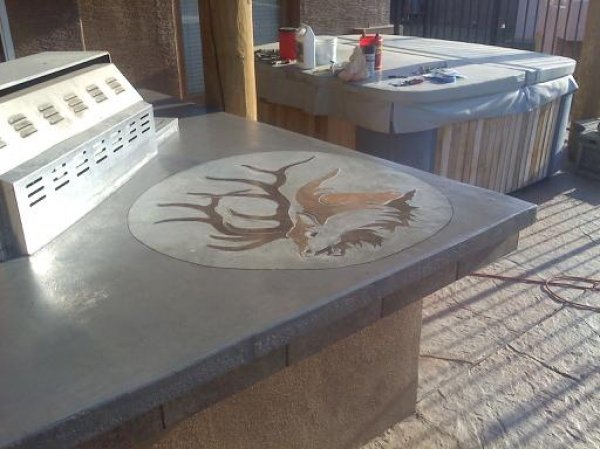
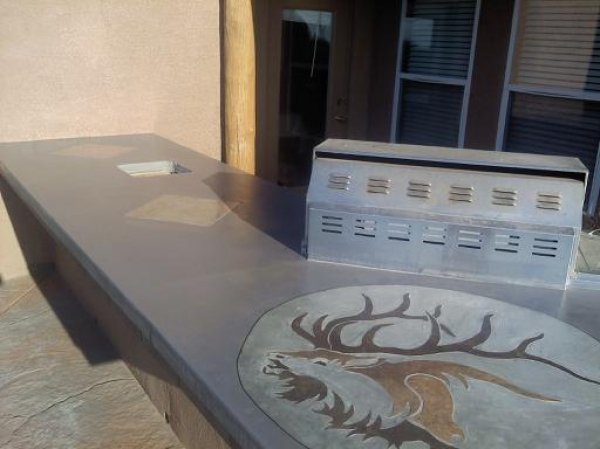
I finished the project up with exception of some cleanup work and putting in the sink where the hole in the counter is. Late last night I finished putting on my last coat of gloss sealer.
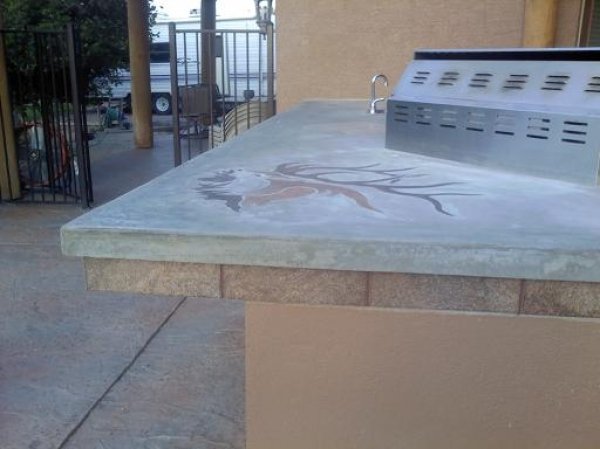
I had asked opinions of weather I should stain the counter or just leave in with the cement look. Most of you voted to leave the cement look but my wife didn't care for it too much. I really didn't want to mess up the elk thinking the stain would take away from it so I compromised with her. I let my wife pick out the stain and I think she picked out a good one to bring out the colors in the tile. I cheated and kept the cement look around the elk. I think it was a good compromise, how about you?
GBA
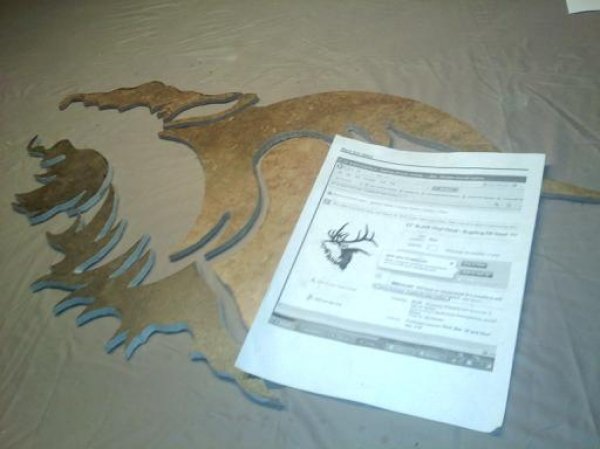
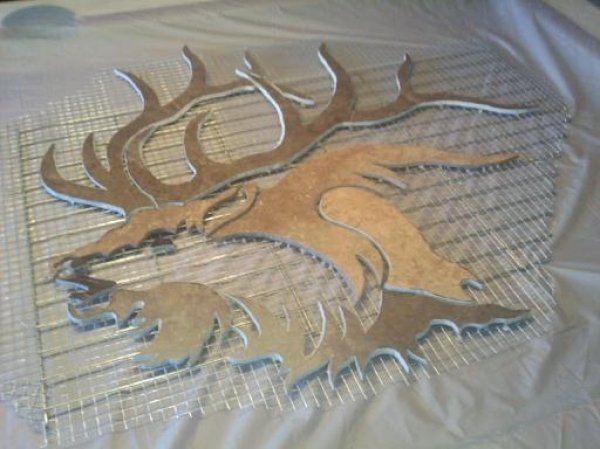
First I had to cut the tile. I only had a regular tile saw so it took forever to get all the turns and curves done. I later found out there is a band saw with a diamond blade that can cut tile the way you want it. Oh well, live and learn. Sorry about the blury picture.

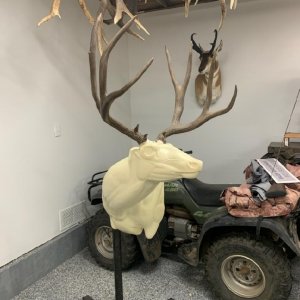
I searched the net trying to find somethin I liked and the drawing in this picture is what I thought would turn out pretty good.
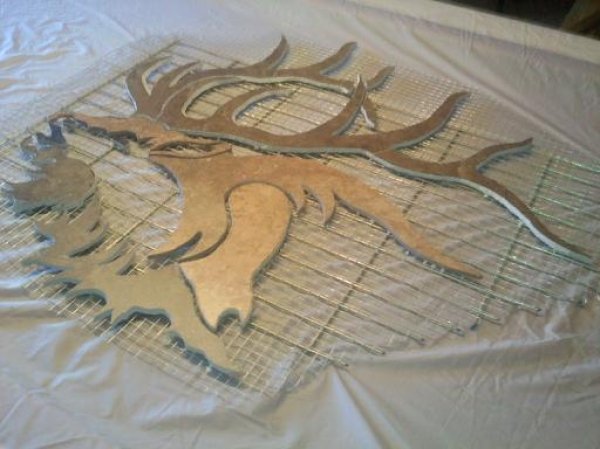
Here he is finished up and hot glued in place on a wire back to act as both rebar and a way to set the whole piece in as opposed to puzzling it together in the wet concrete.
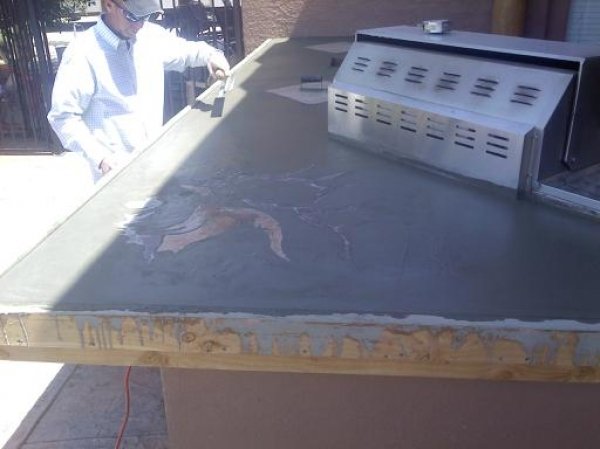
A buddy of mine came over and gave me a hand in the finish work. Here we just set the elk tile in place.
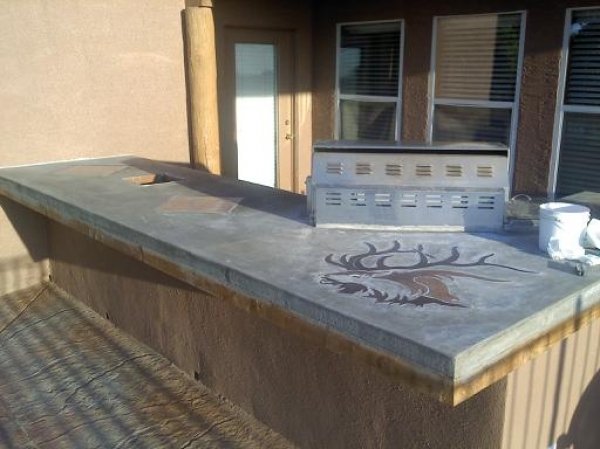
Here are a few pictures of how he turned out after the cement set up and before removing the bottom form boards.
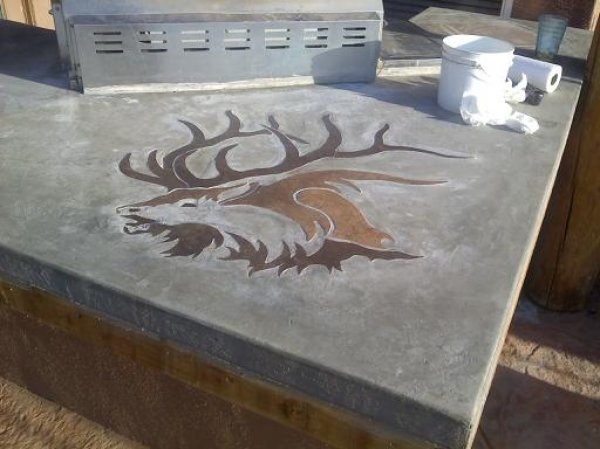
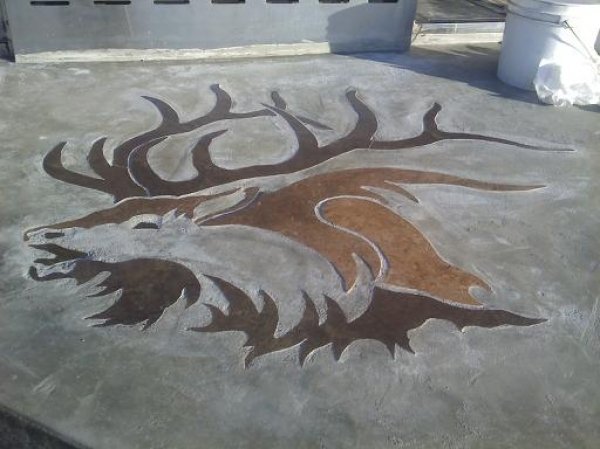
a couple pictures of the tile work after removing the bottom form boards.
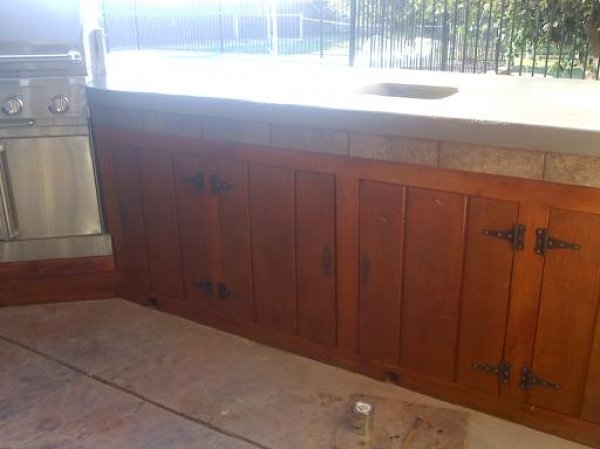
Here the inside cabnet work stained and completed.

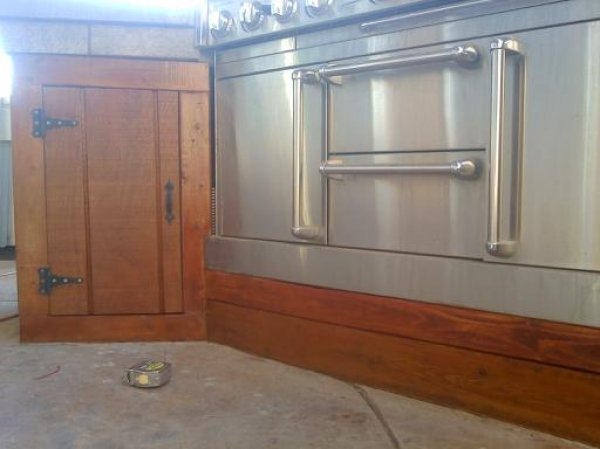
Stain finished and first coat of sealer.

I really enjoyed this project.
GBA
I have never done anything like this and there are a few things I would do differently but over all I am very pleased and very surprised with how this turned out.
I finished the project up with exception of some cleanup work and putting in the sink where the hole in the counter is. Late last night I finished putting on my last coat of gloss sealer.
I had asked opinions of weather I should stain the counter or just leave in with the cement look. Most of you voted to leave the cement look but my wife didn't care for it too much. I really didn't want to mess up the elk thinking the stain would take away from it so I compromised with her. I let my wife pick out the stain and I think she picked out a good one to bring out the colors in the tile. I cheated and kept the cement look around the elk. I think it was a good compromise, how about you?
GBA
First I had to cut the tile. I only had a regular tile saw so it took forever to get all the turns and curves done. I later found out there is a band saw with a diamond blade that can cut tile the way you want it. Oh well, live and learn. Sorry about the blury picture.
I searched the net trying to find somethin I liked and the drawing in this picture is what I thought would turn out pretty good.
Here he is finished up and hot glued in place on a wire back to act as both rebar and a way to set the whole piece in as opposed to puzzling it together in the wet concrete.
A buddy of mine came over and gave me a hand in the finish work. Here we just set the elk tile in place.
Here are a few pictures of how he turned out after the cement set up and before removing the bottom form boards.
a couple pictures of the tile work after removing the bottom form boards.
Here the inside cabnet work stained and completed.
Stain finished and first coat of sealer.
I really enjoyed this project.
GBA